How To Choose A Compact Microphone For Phone Video
A practical step-by-step guide to how to choose a compact microphone for phone video, including preparation, instructions, common issues, tips, and next steps.
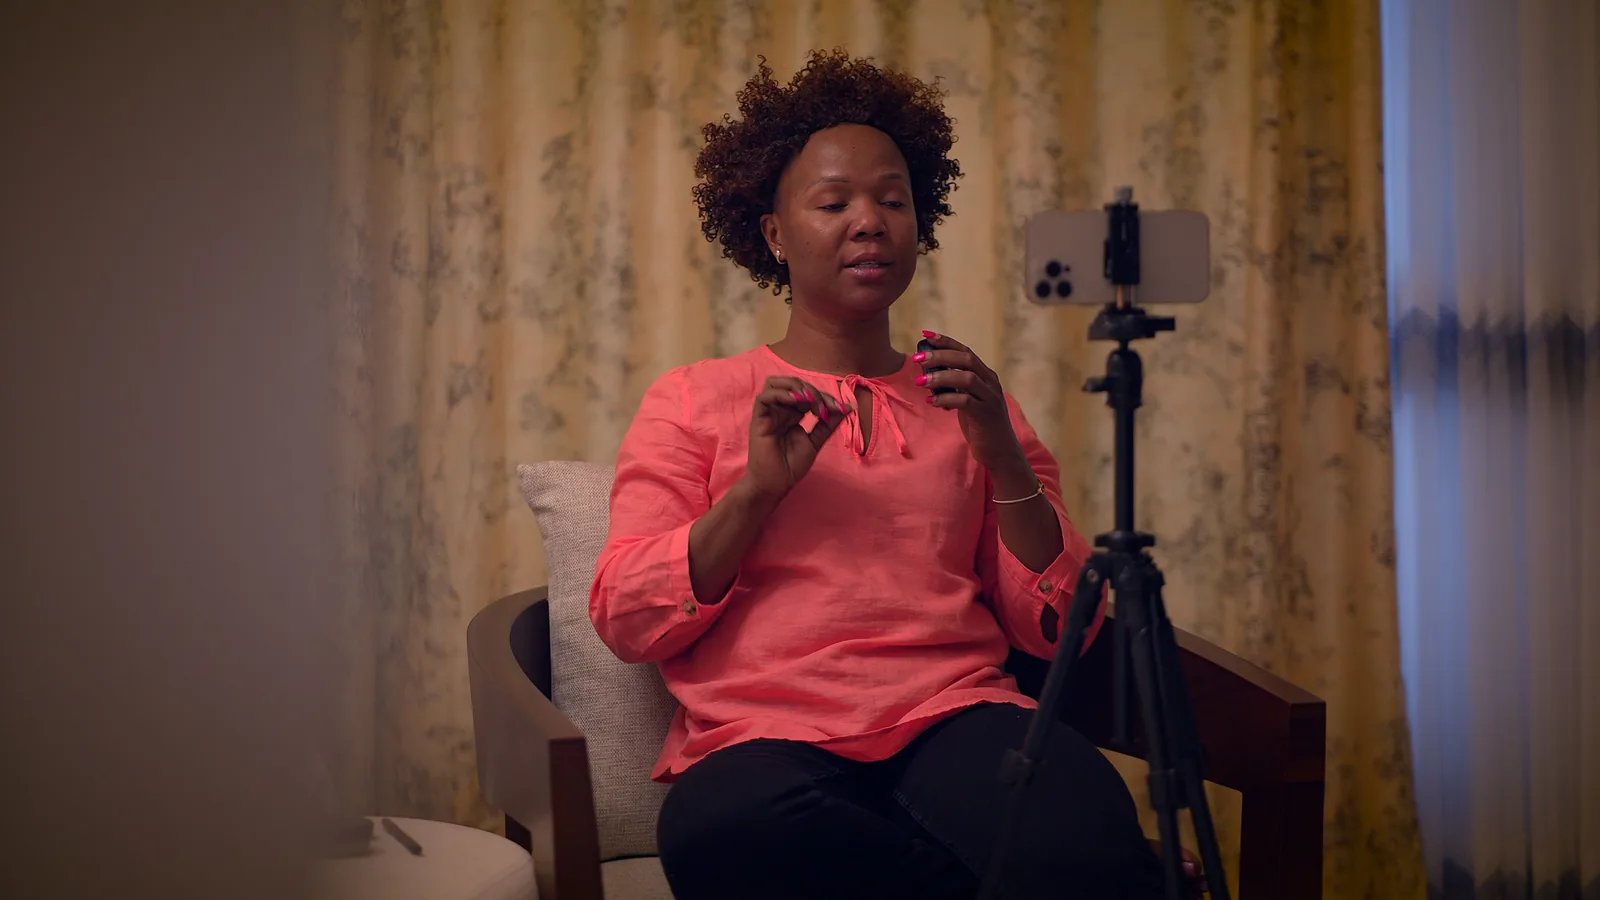
How To Choose A Compact Microphone For Phone Video
This guide helps you choose a compact microphone for recording video with your phone, focusing on directional sound capture and reducing background noise. It covers types of microphones, connectivity, placement, and testing so you can pick a solution that matches your filming style and budget.
Fast Answer
- For most phone video, choose a compact directional microphone that plugs into your phone's charging port, as it captures clear audio from the subject while minimizing surrounding noise.
- If you often record yourself talking to the camera, a clip-on lapel mic with a long cable gives you consistent voice levels and keeps your hands free.
Before You Start
- Identify your phone's input port (USB-C or Lightning) to know which connector type your microphone must have for direct connection.
- Think about your typical recording distance: if you are within arm's reach, a shotgun mic works; for hands-free talking, choose a lapel mic.
- Check whether your phone's video app allows you to select an external audio source, as some apps might ignore a connected mic.
- Consider your environment: if you record in noisy places, prioritize a unidirectional mic over an omnidirectional one.
Step-by-Step Instructions
Assess your phone's connection options
Start by turning your phone over and locating the charging port; this is where most external microphones connect. If your phone uses a USB-C port, you will need a mic with a USB-C plug. If it uses Apple's Lightning connector, you must get a Lightning mic or an adapter. Some older phones still use a 3.5mm headphone jack, in which case a TRRS mic works directly, but many modern phones lack that jack, so you might need a dongle. Physically check the port shape and also look up your phone's specifications in its manual or the manufacturer's website to confirm the exact type. This step matters because a mic with the wrong connector simply will not plug in, which wastes your time and money. Once you know your port, you can narrow your search to compatible microphones or plan to buy a suitable adapter.
Choose a polar pattern that fits your scene
A microphone's polar pattern determines how it picks up sound from different directions. For video, you usually want a cardioid or supercardioid pattern, which captures audio from the front while rejecting sound from the sides and rear. This is ideal for recording a person speaking in front of the camera, because it isolates their voice from background chatter or traffic. If you record interviews with two people on either side of the phone, a bidirectional pattern might serve better, but such mics are less common for compact use. Omnidirectional mics pick up sound from all directions; they are fine for capturing ambient room tone but will also pick up unwanted noise if you are in a busy area. To decide, think about your typical recording scenario. Walk around your room and notice where sounds come from; then choose a mic that matches that directionality. This step matters because using the wrong polar pattern leads to poor audio quality that is difficult to fix in editing.
Decide between shotgun and lapel microphones
Two popular compact designs are shotgun mics and lapel (lavalier) mics. Shotgun mics are long, thin, and usually mount on a cold shoe or a tripod; they have a tight pickup pattern that excels at capturing sound from a specific direction, making them great for vlogging when you are holding the phone in front of you. Lapel mics are tiny clip-on devices that attach to your shirt or collar; they plug into the phone via a cable or sometimes a wireless receiver. Use a lapel mic when you need to record yourself talking while your hands are busy, such as during cooking or craft demonstrations. Consider your filming style: do you mostly talk to the camera, or do you record dialogue between people? If you record interviews, a shotgun mic on a stand between the participants might work, but for solo speaking, a lapel mic is often simpler because it stays at a constant distance from your mouth. Think about your typical setup and how much freedom you want. This choice matters because each type has different placement logic that affects audio clarity.
Check microphone input type and gain control
Microphones send audio through different input types. Most compact mics that plug directly into a phone use an analog connection through the charging port, and the phone supplies power. Some mics also have a built-in gain control or a mute switch. Look for a mic that lets you adjust volume without opening an app, because that gives you quick control on location. Also, check if the mic has a headphone monitoring jack, which lets you listen to audio live through wired headphones while recording; this is extremely useful to catch problems right away. Test the mic's output level by connecting it to your phone and opening a voice memo app; speak in a normal volume and see if the waveform shows consistent peaks. If the audio is too low or too high, you can adjust gain on the mic or in your phone's settings, but not all mics offer this. This step matters because without gain control you might end up with inaudible or distorted audio that you cannot fix in post.
Consider connectivity and mounting for your setup
Think about how you will physically attach the microphone to your phone or stand. Many compact mics come with a shock mount or a clip that attaches to the phone's side or bottom; some require a cold shoe mount or a tripod. Determine whether you need to hold your phone horizontally or vertically, because some mics might get in the way. If you use a phone gimbal, check that the mic fits. Also, consider the cable: a short cable is fine for a mic attached to the top of the phone, but if you use a lapel mic, the cable must be long enough to reach the bottom port. For wireless mics, think about the receiver's placement and whether you can still handle the phone comfortably. Test the setup by attaching the mic and doing a trial recording while moving around. This step matters because a mic that is awkward to attach will quickly become a nuisance, and you might leave it home.
Test the microphone with your phone and apps
Before making a final choice, test the microphone with the same phone and apps you use for video. Connect the mic, open your phone's camera app, and record a short clip while speaking at a normal distance. Then listen back with earbuds to check clarity, background noise, and level consistency. If the audio is distorted even at a moderate speaking volume, the mic may have a maximum input level that is too low, or the phone might be adding gain automatically. Try the mic in a video call app, a voice recorder app, and your primary camera app to ensure compatibility across platforms. Also, test if the phone supports simultaneous charging and audio input; some phones disable external input when a charger is connected. This final test matters because even with the correct connector and polar pattern, there might be software quirks that make a mic unusable for your specific workflow. If the mic fails, return it and try a different model.
Quick Reference
| Situation | Action | Why it helps |
|---|---|---|
| You are vlogging while walking through a busy street and you want your voice to be clear over traffic noise. | Use a compact shotgun microphone mounted on your phone with a foam windscreen, and speak directly toward the mic at a consistent distance of 20 to 30 centimeters. | The shotgun's narrow pickup pattern rejects most from the sides, and the windscreen reduces wind rumble, giving a cleaner dialogue track. |
| You are recording a cooking tutorial where your hands are busy, and you need steady audio without holding a mic. | Clip a lapel microphone to your collar, position the mic roughly 15 centimeters below your chin, and connect it to your phone's charging port. | The lapel mic stays at a fixed distance from your mouth, so your voice volume stays consistent even as you move around. |
| You are interviewing two people sitting across from each other, and you want both voices captured evenly. | Place your phone on a table between them and attach a compact lapel mic to one person, or use a shotgun mic mounted on a small tripod pointed at each speaker in turn. | A single directional mic cannot record two speakers well if they are on opposite sides; using a lapel mic on one speaker and swapping or editing later gives balanced audio. |
Common Issues
- The microphone is connected but the phone still records from the built-in mic.: Unplug the mic and plug it in again, ensuring it is fully seated. Then check the phone's Settings, look for 'External Microphone' or 'Audio Input' and select 'External' if available. Some camera apps ignore external mics; try the native camera app or a third-party app that lets you choose the input source.
- The audio is too quiet even when the mic is close.: Check if the microphone has a gain control and increase it. Also check your phone's volume settings. Clean the mic's grille with a soft brush to remove debris. If the problem persists, the mic may need a preamp or the phone's input sensitivity is low; test with a different mic or read your phone's manual.
- You hear a low hum or static in the recording.: Try moving the mic away from the phone's battery and other electronics. Turn off any electronic devices nearby that emit interference. Also check that the cable is not damaged; if you use a wireless mic, change the battery or position the receiver to improve the radio signal.
Advanced Tips
- Learn to set your gain staging: set the microphone's gain so that your loudest speech peaks around minus 12 decibels on your phone's level meter, leaving headroom to avoid distortion.
- Use a high-pass filter on your editing software to remove low-frequency rumble, like air conditioners and footsteps, which can improve clarity.
- Record a short calibration clip before your main take, then check the audio waveform to see if peaks are consistent and not clipping.
Final Checklist
- Identify your phone's charging port type (USB-C, Lightning, or 3.5mm jack) and buy a mic with that plug.
- Choose a polar pattern (cardioid for most uses) that matches your recording environment and subject distance.
- Test the mic's gain and monitor audio with headphones to ensure levels are healthy and free of noise.
- Try the mic with your specific camera app and record a real scenario to confirm it works reliably.
FAQ
Can I use any microphone with my phone if I have an adapter?
Not always. Even with an adapter, the phone must support external audio input through that cable. Some adapters only pass audio output, not input. Also some microphones require more power than the phone can provide, so they may not work. Always check adapter compatibility reviews and test it by recording a sample.
What is the difference between a cardioid and omnidirectional mic for video?
A cardioid mic picks up sound mainly from the front, which is good for isolating a speaker from background noise. An omnidirectional mic picks up sound equally from all directions, which can be useful for capturing group conversations or ambient sound, but it will also pick up unwanted noise. For most talking-head videos, cardioid is better.
Does the length of the lapel mic cable matter?
Yes. If you clip the mic to your shirt and the cable is too short to reach your phone's port, you may have to place your phone awkwardly. A longer cable gives you freedom to move and place the phone wherever it is convenient, but be aware of tangles and potential noise from the cable rubbing against clothing.